iAdvize now allows you to deploy new conversational capabilities by using your data sources (delivery status information, product information, CRM data, personalized data available via APIs...) directly in your bot automation strategy.
Thanks to iAdvize's connected augmented intelligence, the bots will be able to handle level 1 requests, which are often repetitive, allowing your operators to focus on higher-value conversations that require their expertise.
Please note that API Connections have a 6s timeout and only accept https calls (port 443).
1. Connect your API
Once in the iAdvize administration :
- Go to the AI Copilot section, Workflows and then API Connections.
- Then click on Create a connection.
- Choose the name you will give to your API connection. As indicated in the admin, the connection will be proposed under this name in the bot builder.
Each time the connection is modified, a new version will be generated. You will have to update the version selected in the bot scenario.
For the rest of the article, we will take a specific example: create a bot that asks the visitor for the name of a city in order to return the minimum temperature, the maximum temperature and the humidity of this city.
We will query the API of a weather app.
We will choose the name "Weather" for this scenario
2. Define the information to retrieve
-
Define the inputs (=dynamic parameters that we want to retrieve in the conversation from the visitor that we can then fill in our request)
The inputs will be used in the bot scenario afterwards - we advise you to use easily recognizable titles.
In case of addition/modification/removal of input/output in a new version, it will be necessary to update the bot scenario accordingly
3. Fill in the URL
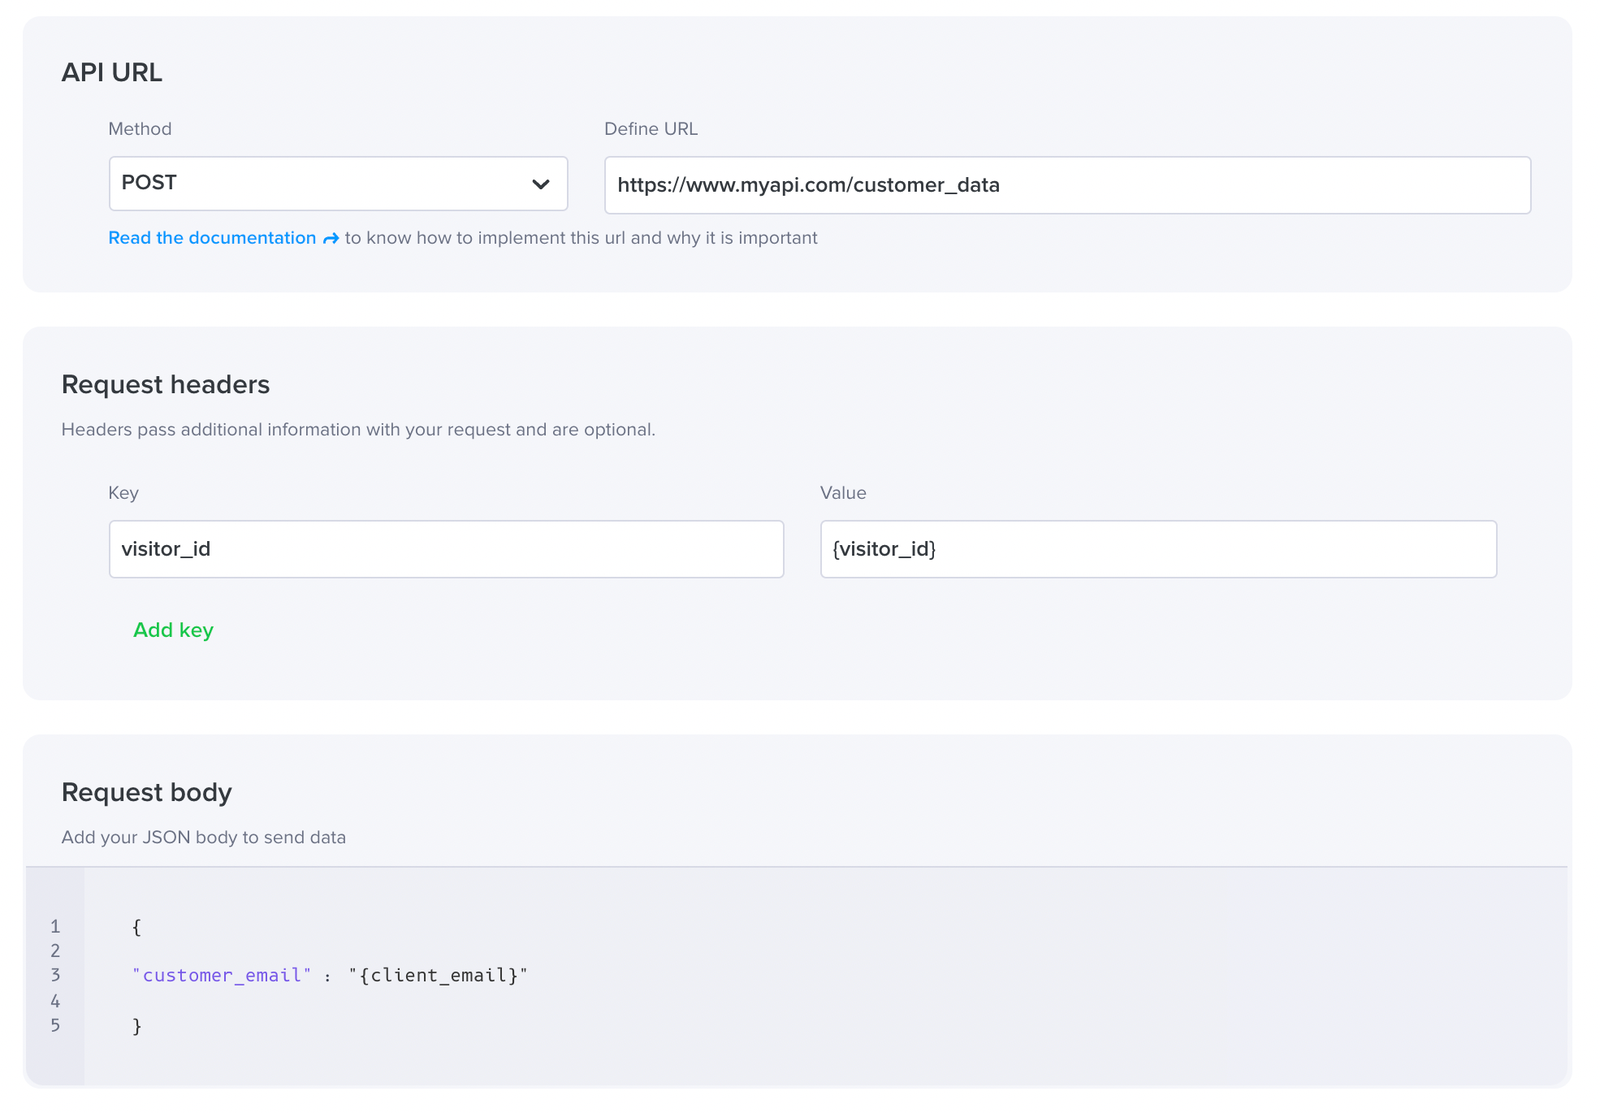
The URL must start with "https", after selecting your method (GET, POST or PUT). Do not forget to specify your parameters. Variables can be added to the URL (see example below).
In this example the parameters are q={city} & units=metric. The input (here "city") must be between braces.

4. Enter your secret values
- Then enter your secret values if you have any.

Secret values can be considered as a means of variable storage.
They are protected and will not appear in clear text when the API connection is changed later.
5. Fill in your headers
This is where you will indicate your API key as well as other potential headers.
For Example :

6. Start your body
In the "request a body" part, you are asked to indicate in JSON format the elements you wish to send (only usable for POST requests).


In this scenario, we use a GET request and therefore we will not use this section.
7. Define the data to extract
Now we need to define the information we want to retrieve in output (mapping) with the JSON path that will allow us to retrieve the value we are interested in.
https://jsonpath.com/
8. Test the connection
-
Then click on "test the connection" to see if your request returns the expected results.
-
If the test is successful, you will find your result in the "Json response" part.
-
You can also test your mappings on the tool https://jsonpath.com/.

Tests done in the simulator are functional and have an impact on the API in the case of POST calls.
You can now use your API connection in your bots' scenario.
To find out more, read this article.


