The chatbox is the central element of the panel. It contains information about the visitor, messages exchanged and the tools available during the discussion (message filter, sending a link or an offer, etc.)
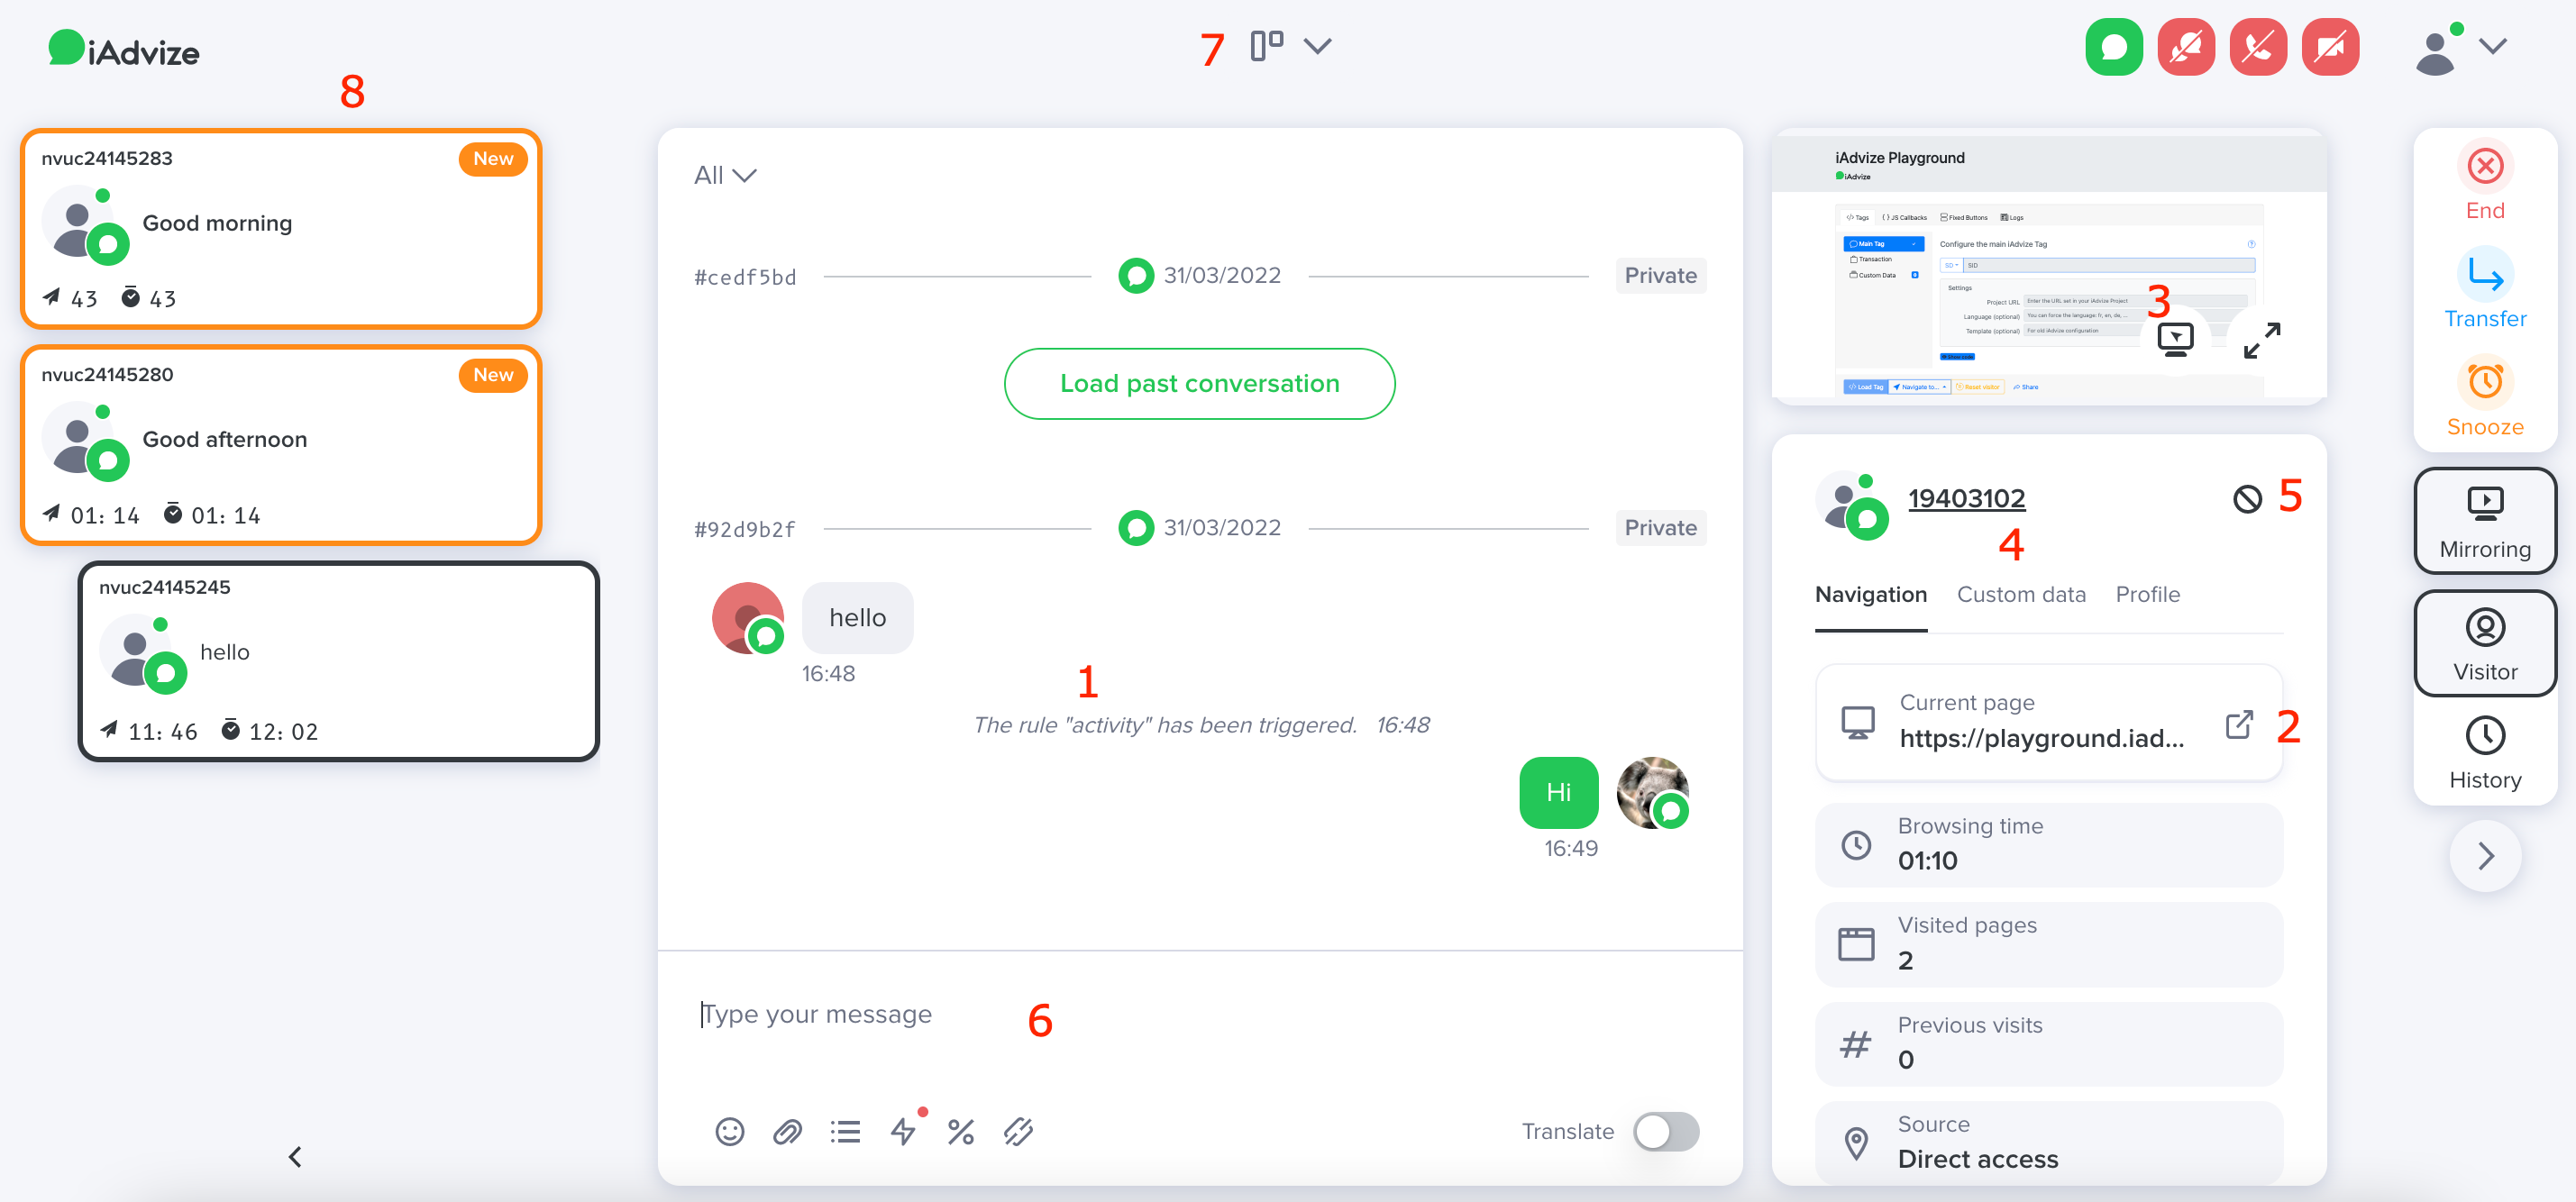
1. Filters
They allow you to filter the contents of the chatbox to only display one type of message.
- Visitor: only displays visitor messages
- Agent: only displays agent messages
- Actions: only displays the actions performed during the conversation (sending offers, links, etc.)
- Navigation: only displays visitor navigation information (URL visited during the conversation)
2. Open the current page

This option allows you to open the page the visitor is currently looking at in a new tab in your browser. This can be useful if you can't see certain areas of the page from the panel.
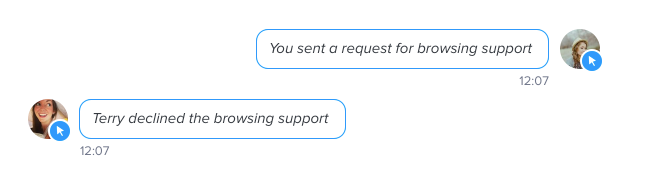
3. Take control
![]()
If a visitor cannot find a product or carry out an action, it can sometimes be easier to demonstrate how to do so on the visitor's screen. With this feature, take control of your visitors' navigation to direct them where you want.
4. Information panel
This pane gives you all of the visitor's information (navigation information and information from custom data)
Source:
This is how the visitor accessed your site (direct access, search engine etc.)
Navigation:
Here you will find information about the visitor's navigation around your site:
- Browsing duration
- Number of pages viewed
- Number of visits to your site by this internet user.
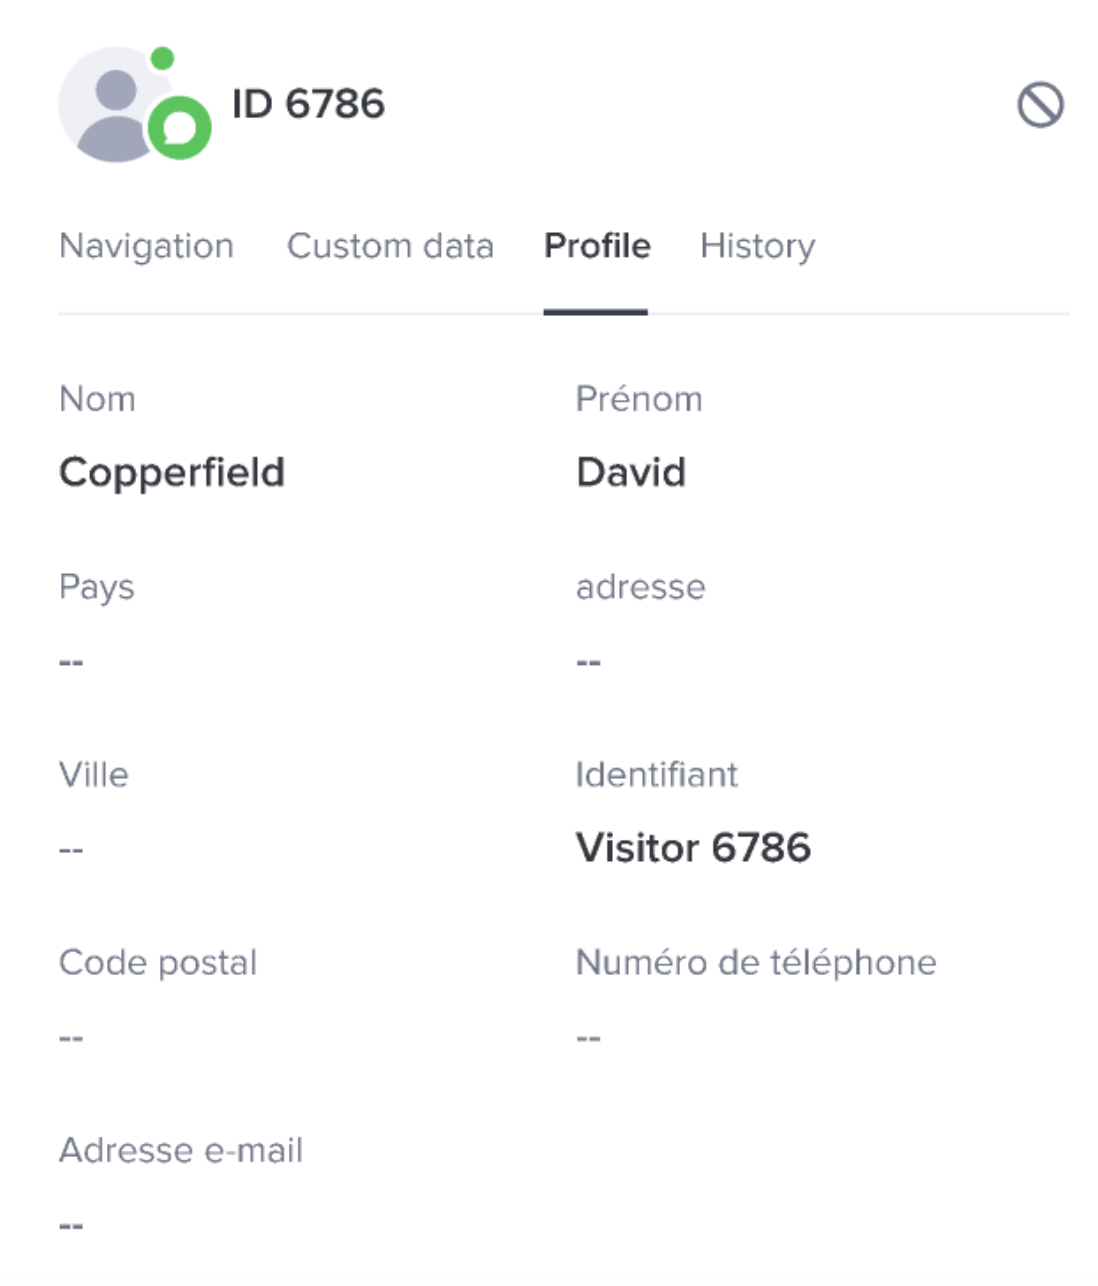
Profile:
The profile contains technical information on the visitor (country, browser and operating system used)
Past messages:
Here you will find the number of past messages between your agents and this visitor. Clicking "Show customer record" gives you access to the past conversations with the visitor.
Custom data:
You can also show custom data about your visitor (current basket amount, your client identifier, etc.). To do this, "Custom data" must be put in place within your iAdvize administration.
Visitor history:
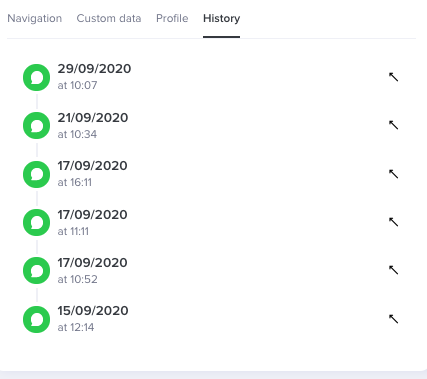
If a conversation is closed and a visitor comes back to you, you will have access to the entire history of past exchanges in the right-hand column and within the chatbox thread, as well as his client profile.
5. Block this visitor
You can block an unwanted customer to avoid being contacted by the customer again. Customers can be unblocked by a manager from customer management.
![]()
6. Compose area
Type your answers here to send them to the visitors.
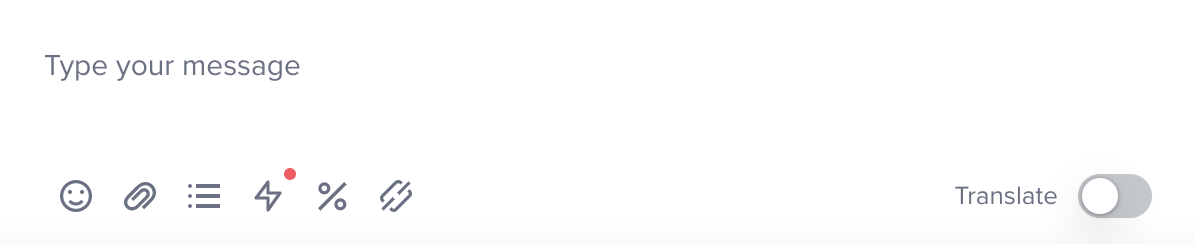
To know more about the compose area features, please read this article : The desktop compose area.
7. Simultaneous chat management
The compose area is not visible when you are not on the relevant conversation. A real comfort to display more messages on your other conversations.
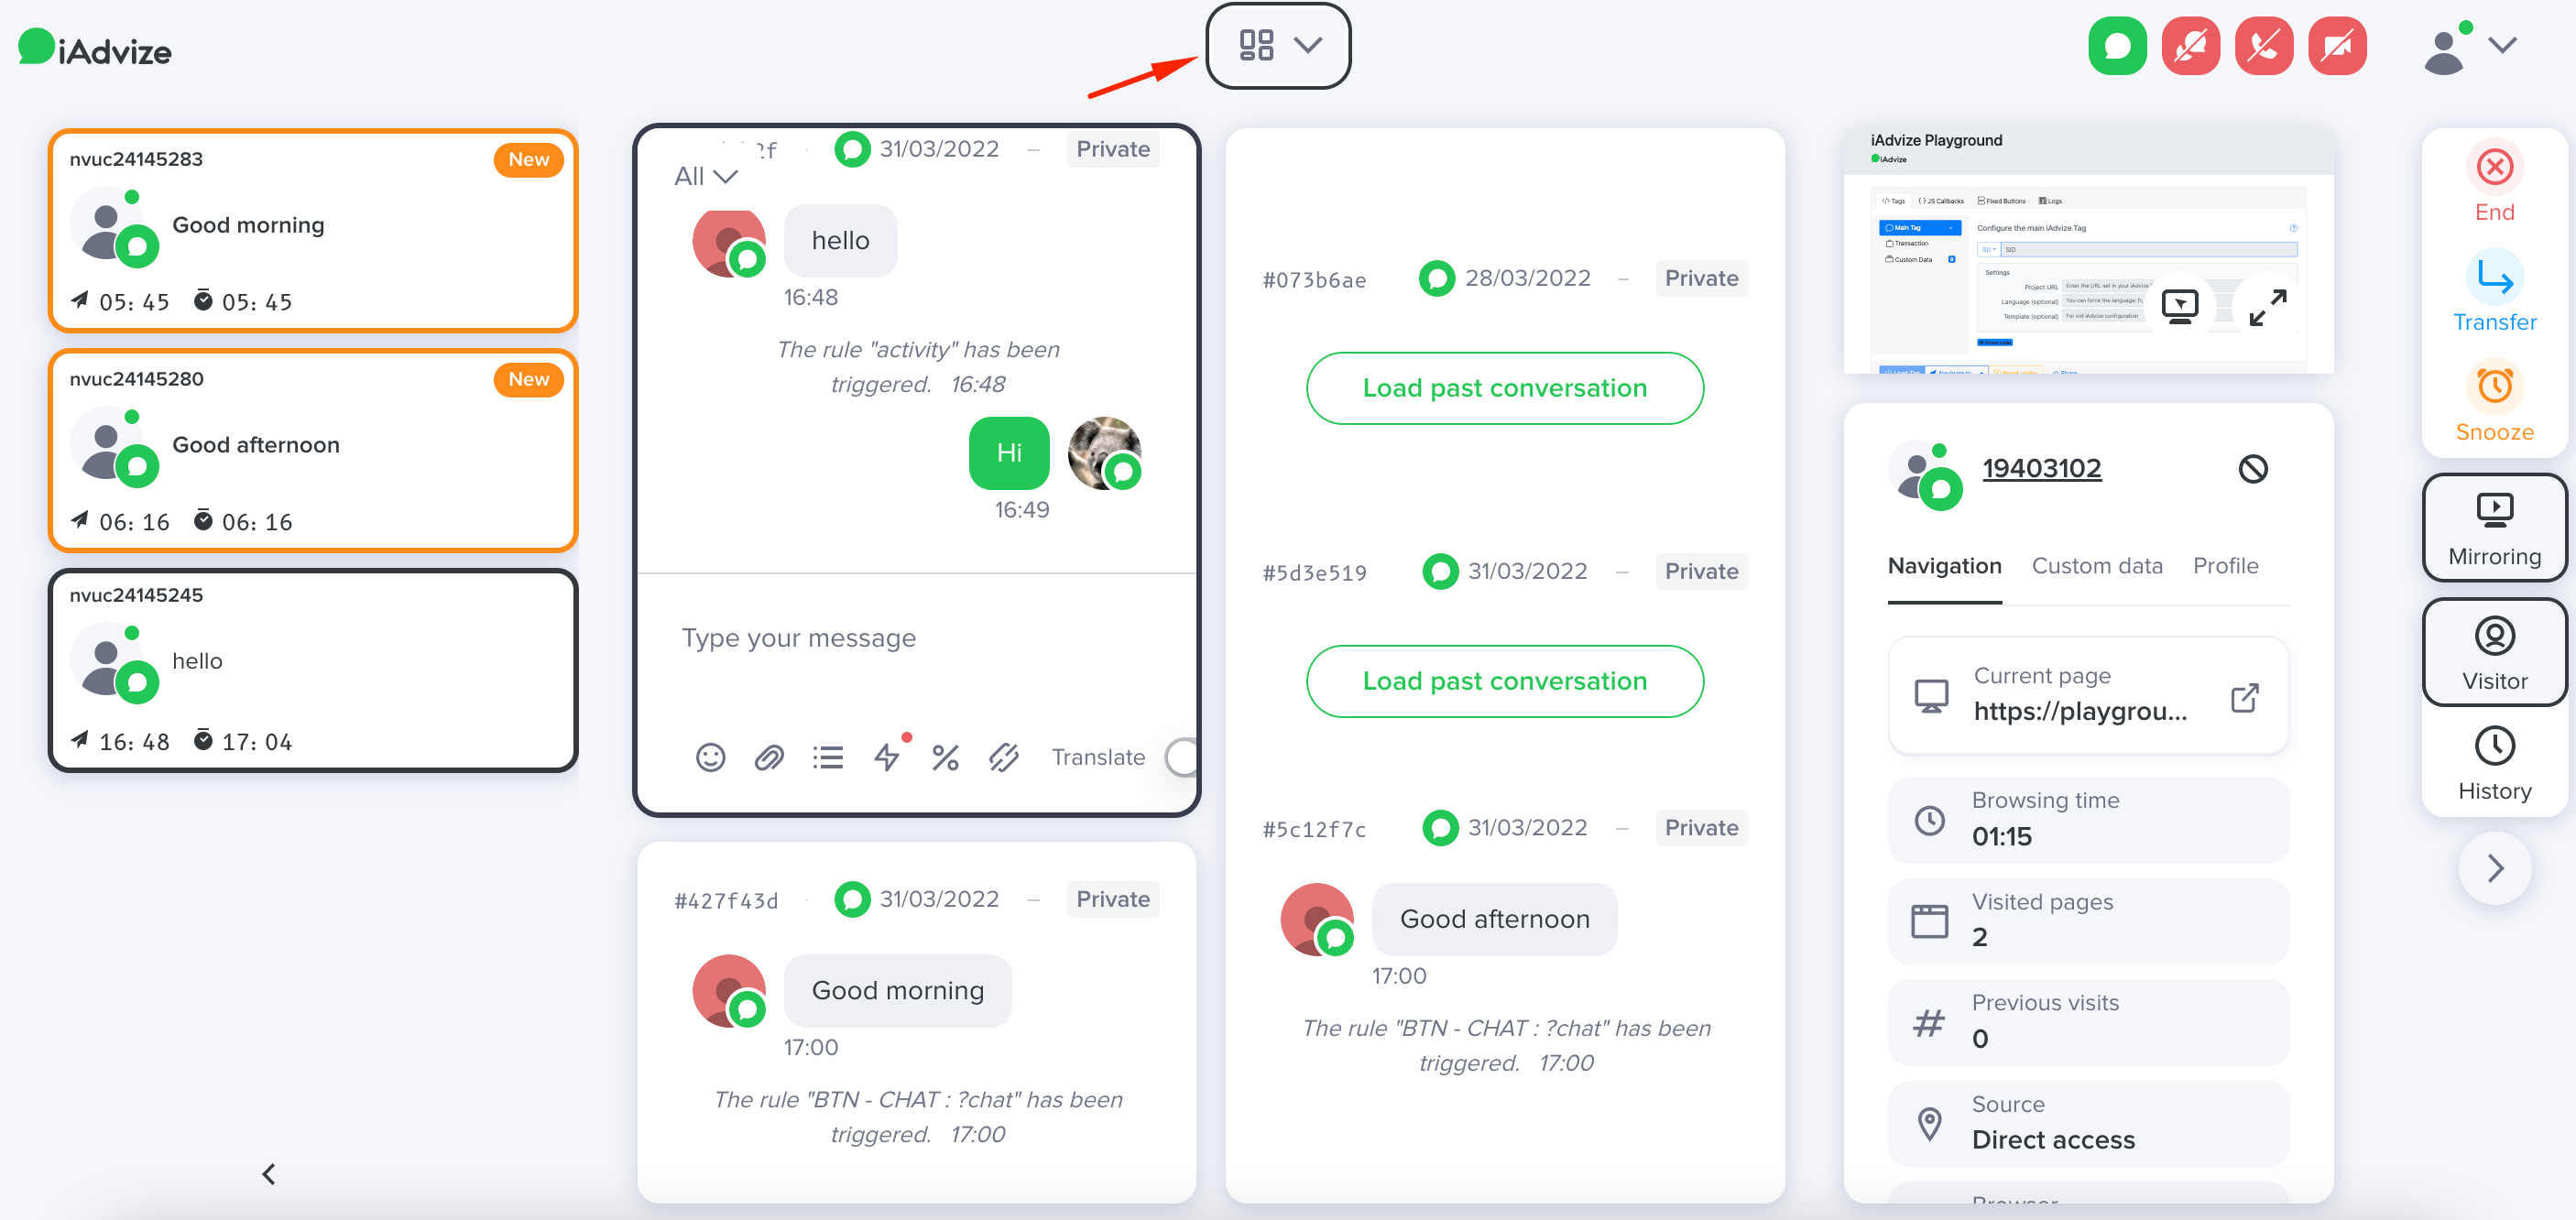
8. State box


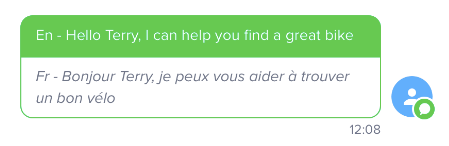
- Translation